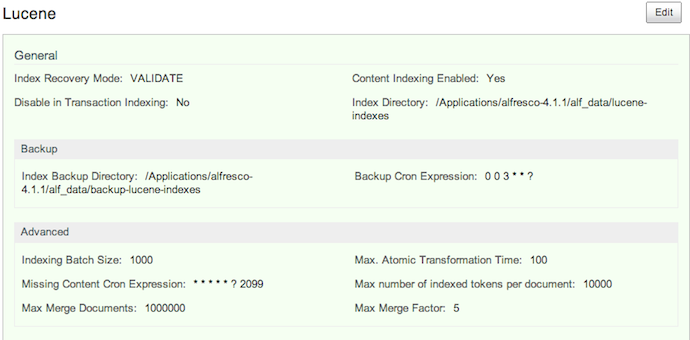
This section describes how to specify the Lucene backup directory.
You can set the Lucene backup directory using the following three ways: by using the Admin Console in Share, by editing the SkyVault-global.properties file or by using a JMX client, such as JConsole.
Set up Lucene backup directory using Share Admin Console
You can only see the Admin Console if you are an administrator user.
- On the toolbar, expand the More menu, and then click More in the Admin Tools... list.
-
Under the Tools section on the left navigation bar, you see
various tools available and the options that you can set. In the
Search sub-section, click on Lucene.
The Lucene window is displayed.

- Click Edit.
- Edit the backup properties for the Lucene index by specifying when the backup occurs in the Backup Cron Expression text box.
- Specify the full path on the SkyVault server file system to store the index backup in the Index Backup Directory text box.
- Click Save.
Specifying Lucene backup directory via SkyVault-global.properties file
This task shows how to specify the Lucene backup directory via
SkyVault-global.properties file.
To set the Lucene backup directory and schedule, using the
SkyVault-global.properties file, set the value of the following
properties to the relevant cron expression and the full path where the backups should be
kept:
index.backup.cronExpression=0 0 3 * * ?
dir.indexes.backup=${dir.root}/backup-lucene-indexes
Specifying Lucene backup directory via JMX client
You can use the JMX client, JConsole to specify the backup directory for Lucene
indexes.
To use JMX client to setup Lucene backup directory, navigate to MBeans tab >
SkyVault > Configuration > Search > managed > lucene > Attributes
and change the values for index.backup.cronExpression and
dir.indexes.backup properties.
