-
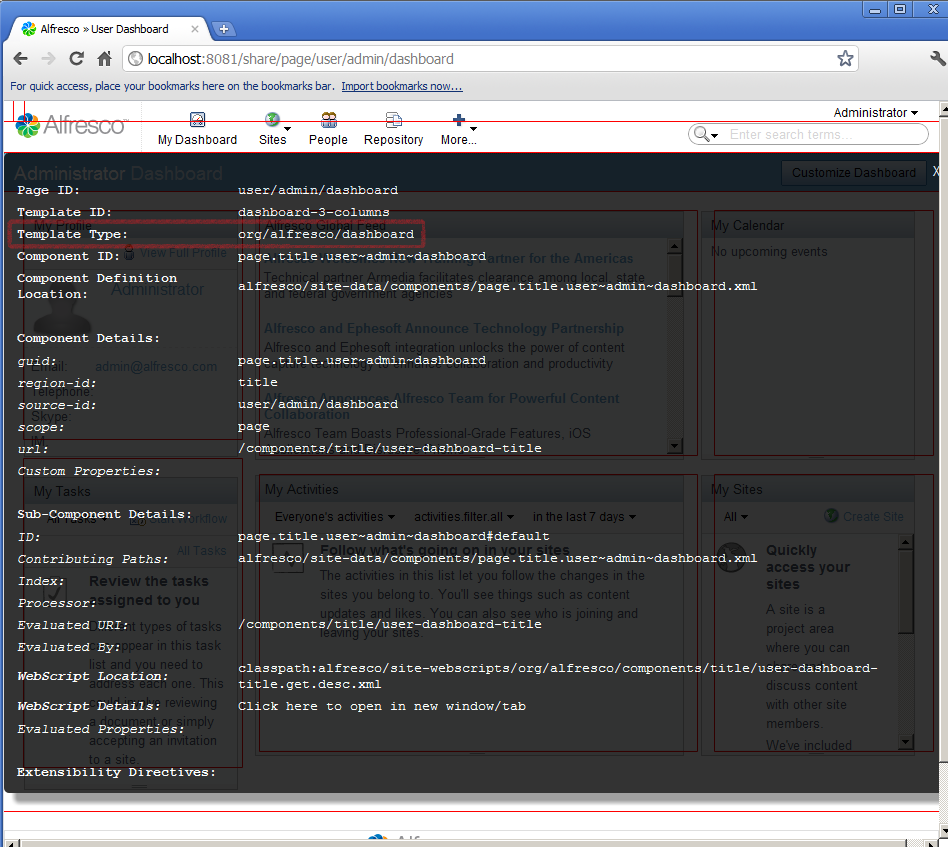
Enable SurfBug and click on the titlebar. Note the
Template Type property, which in this case is
org/alfresco/dashboard. This means that the file that you need to
extend is dashboard.ftl in the org.SkyVault package.

-
Update the blog-demo.xml file to add the following module
definition:
<module> <id>Blog Module (Add Region) </id> <customizations> <customization> <targetPackageRoot>org.alfresco</targetPackageRoot> <sourcePackageRoot>blog.demo.customization</sourcePackageRoot> </customization> </customizations> </module> -
Create a file called dashboard.ftl and place it in the
package SkyVault.templates.blog.demo.customization. The file
should contain the following:
<@region id="additional-content" target="title" action="before" scope="global" />
Note:The package you have added the file to is prefixed by SkyVault.templates. This is the source package at which Spring Surf Class Loader starts looking for template files. It is critical to include this prefix to your package or your extension won’t be found.
Next, you create a new Component to bind to your new Region. You will use the legacy configuration style (although you could use the new style, this way is shorter and suitable for our purposes).
-
Create a file called global.additional-content.xml and place it in the
SkyVault.site-data.components package. The file should contain the
following:
<component>
   <region-id>additional-content</region-id>
   <source-id>global</source-id>
   <scope>global</scope>
   <uri>/blog/demo/new-content</uri>
</component>
Note: You are reusing the same web script created in the Add Content to a SkyVault Share Page tutorial. If you have not completed that tutorial, then the Component will not find the web script specified by the <uri> element. -
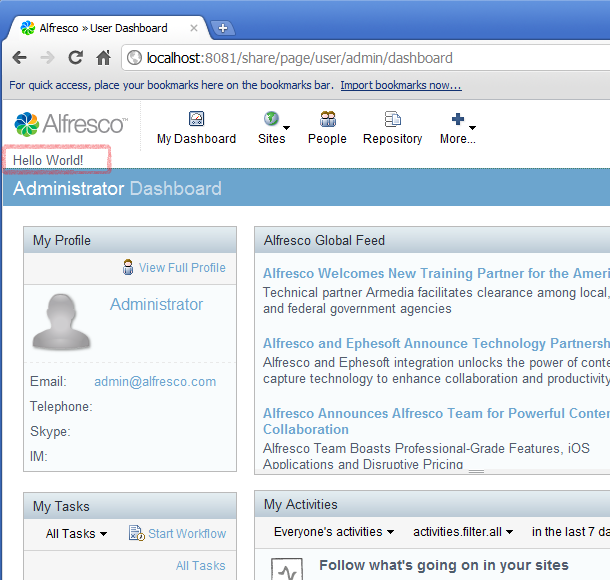
Rebuild and redeploy the JAR, and restart the SkyVault Share web server to see
the additional content.

-
If you want to test out the other customization operations, you can update the
dashboard.ftl file as follows:
- To place the new content after the titlebar: <@region id="additional-content" target="title" action="after" scope="global"/>
- To replace the content of the titlebar with the new content: <@region id= "additional-content" target= "title" action= "replace" scope= "global"/>
- To remove the titlebar region completely:<@region id="additional-content" target="title" action="remove"/>
- About FreeMarker extensibility directives Extensibility directives provide a way of dynamically editing HTML through configuration.
