Extension module customizations elements can be used to
override behaviour of components. This tutorial uses customizations to override the
behaviour of the WebView dashlet.
This tutorial demonstrates how to provide an extension to the JavaScript controller
file for the web script behind the Web View dashlet. This changes the behaviour of Web
View so that the SkyVault.com website is displayed by default.
-
First, add the Web View dashlet to the User
Dashboard:
-
Log in to SkyVault Share.
-
Click the Customize Dashboard button.
-
Click Add Dashlets.
-
Drag the Web View dashlet from the available
list and drop it into one of the dashboard columns.
-
Click OK.
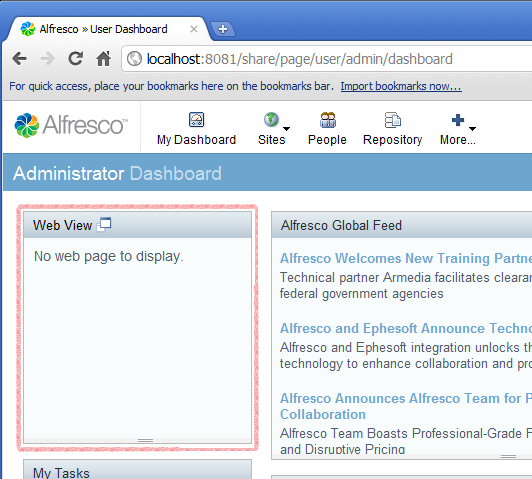
Initially, the dashlet displays the message No web page to
display as it has not yet been configured.

-
First enable SurfBug, using the page
http://localhost:8080/share/page/surfBugStatus. Again, this
link is correct if you are using the default port on a local server.
-
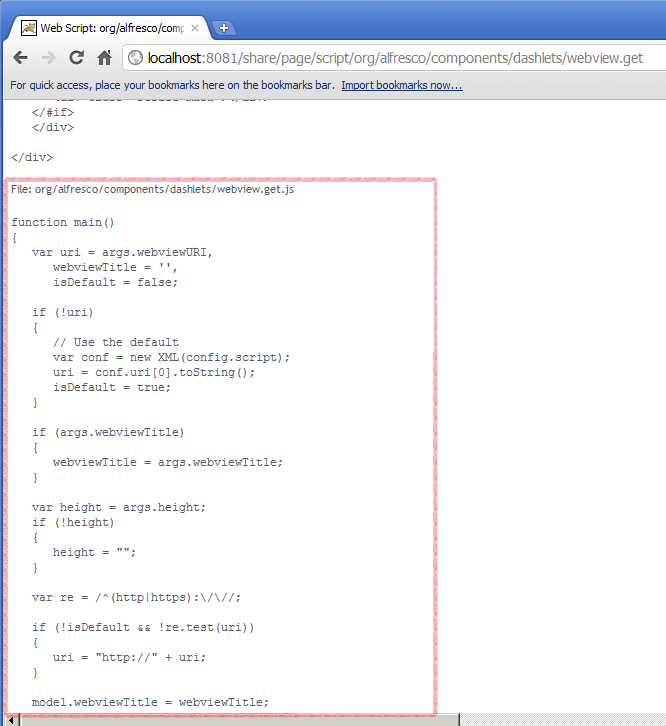
Click on the Web View dashlet to find the Web Script
URI (/components/dashlets/webview) that renders it. Then browse
for Web Scripts by URI (http://localhost:8080/share/page/index/uri/) to access
all the necessary information (including the source of the JavaScript
controller) that you will need.

By inspecting the source of both the controller and the template, you can
work out what model properties the template is using. This allows you to
determine whether or not you can update the model after the base controller
but before the template to create the desired result.
Having
identified that the dashlet is rendered by a web script using the controller
webview.get.js in the org.alfresco.components.dashlets
package, you can define a new module with a customization to apply to
it.
-
Edit the blog-demo.xml file and add the following module configuration:
<module>
  <id>Blog Module  (Web View JavaScript controller change) </id>
  <customizations>
    <customization>
        <targetPackageRoot>org.alfresco.components.dashlets</targetPackageRoot>
        <sourcePackageRoot>blog.demo.customization</sourcePackageRoot>
     </customization>
    </customizations>
</module>
The target package can be mapped into the source package
blog.demo.customization.
-
Create a file called webview.get.js that contains the
following:
if (model.isDefault ==  true )
{
    model.webviewTitle =  "Alfresco!";
   model.uri =  "http://www.alfresco.com";
   model.isDefault =  false;
}
-
Place the new file in the webscripts.blog.demo.customization
package, rebuild and deploy your JAR, restart the web server, and deploy your
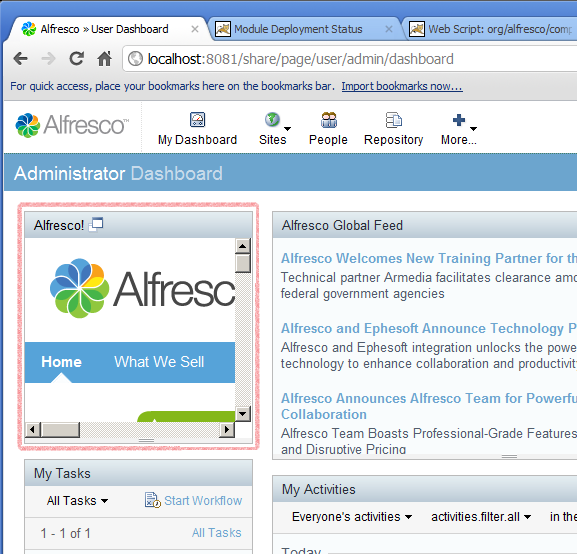
new module. When you log in to SkyVault Share, you will see that the Web View
dashlet now displays the www.alfresco.com website.

It may not always be possible to use this approach to customize existing components,
as it depends on how the JavaScript controller and template are implemented, but the
approach is worth exploring.


